Setting Up Yoast SEO on WordPress
Installing Yoast SEO
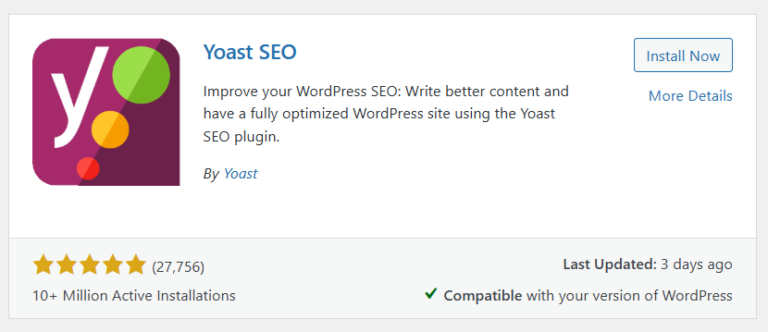
- Go to WordPress Dashboard > Plugins > Add New.
- Search for “Yoast SEO”.
- Click Install Now, then Activate.
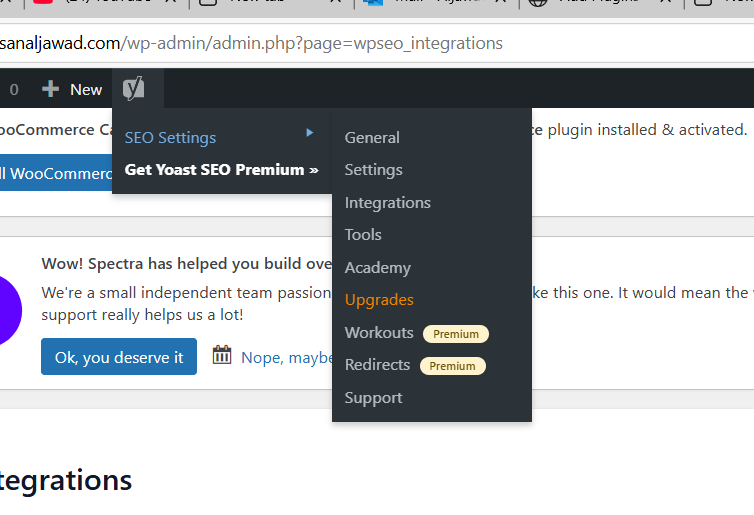
Configuring Yoast SEO
- Go to SEO > General in the dashboard.
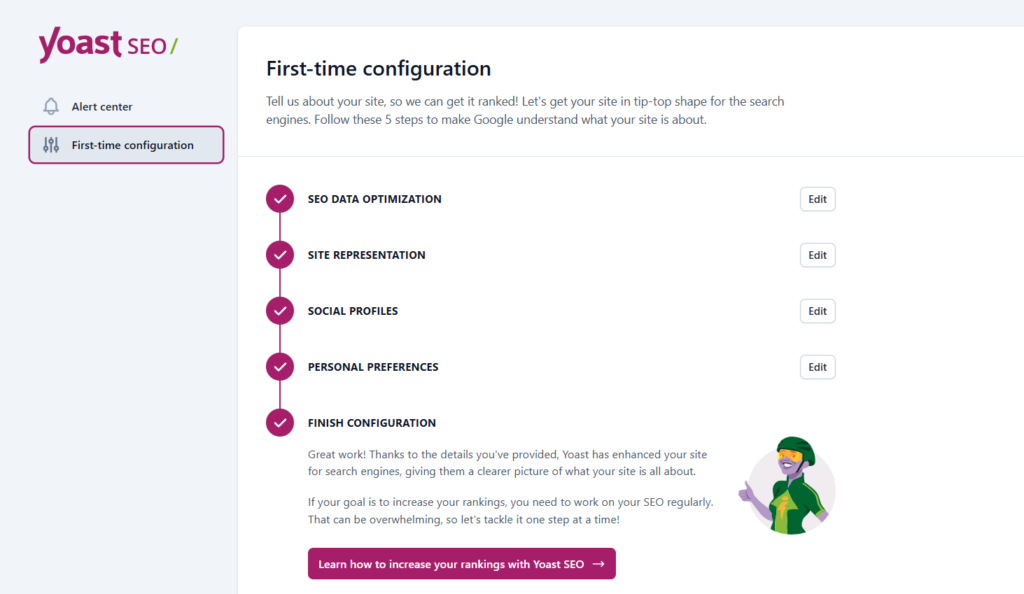
- Click First-time SEO Configuration.
- Follow the wizard:
- Select your site type (blog, business, etc.).
- Enter organization or personal details.
- Add social media links.
- Choose what content should be indexed.
Optimizing a Post/Page with Yoast
- Create or edit a post or page.
- Scroll down to the Yoast SEO meta box.
-
- Enter your main keyword.
- Yoast will suggest improvements.

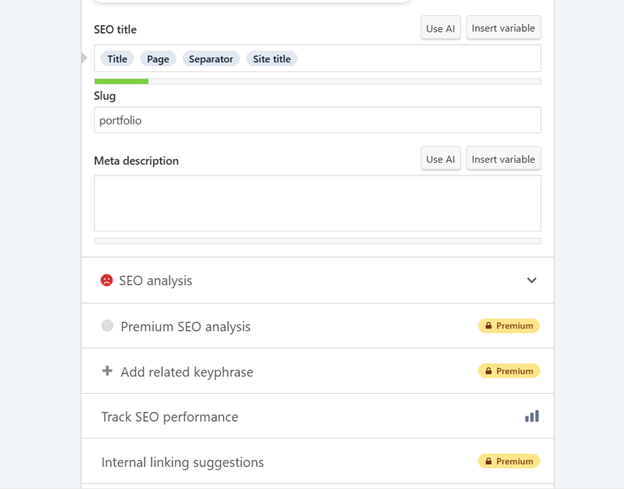
SEO Title & Meta Description/URL Slug
-
- Click “Edit Snippet”.
- Write a compelling SEO title (50-60 characters).
- Add a meta description (150-160 characters).
URL Slug
- Keep it short and keyword-rich.
- Example: yourwebsite.com/wordpress-seo-guide/.
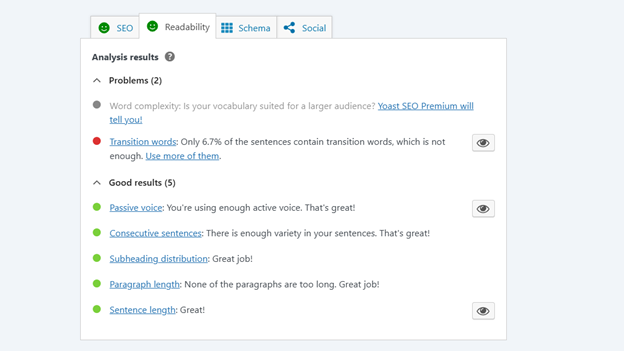
Readability Optimization
- Check the Readability Score in the Yoast SEO box.
- Improve readability by:
-
- Using short paragraphs (2-3 sentences).
- Adding subheadings (H2, H3, etc.).
- Writing in active voice.
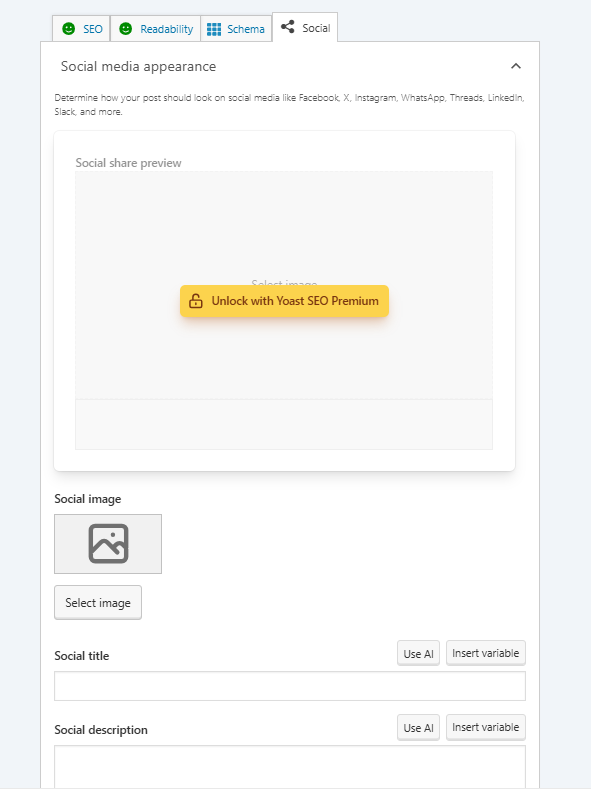
Social Media Previews
- Click the Social tab in the Yoast SEO meta box.
- Add custom images for Facebook & Twitter.
- Write a title & description for social sharing.
Track SEO Performance
- Use Google Analytics to monitor traffic.
- Check rankings in Google Search Console.