How to Create a Contact Page Using Ninja Forms in WordPress
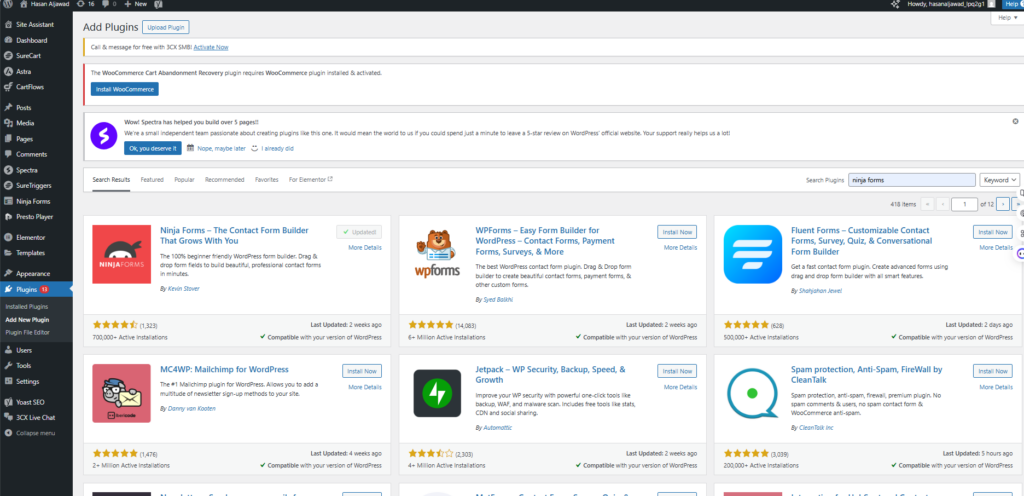
Step 1: Install and Activate Ninja Forms
- Go to WordPress Dashboard > Plugins > Add New.
- Search for “Ninja Forms”.
- Click Install Now, then Activate.
Step 2: Create a Contact Form
- Go to WordPress Dashboard > Ninja Forms.
- Click Add New and choose “Contact Us” template.
- Customize the form fields (e.g., Name, Email, Message).
- Click Publish and name your form.

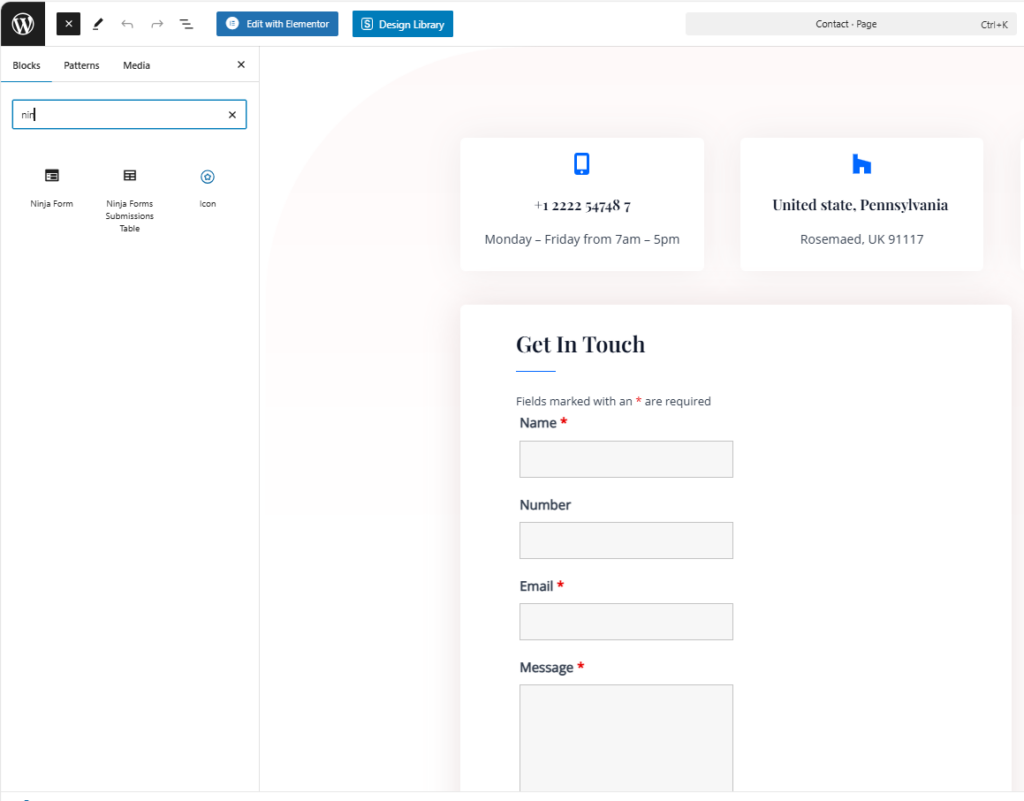
Step 3: Add the Contact Form to a Page
- Go to WordPress Dashboard > Pages > Add New.
- Title the page “Contact Us”.
- Click “Add Block” and select Ninja Forms.
- Choose your newly created contact form.
- Click Publish to save the page.
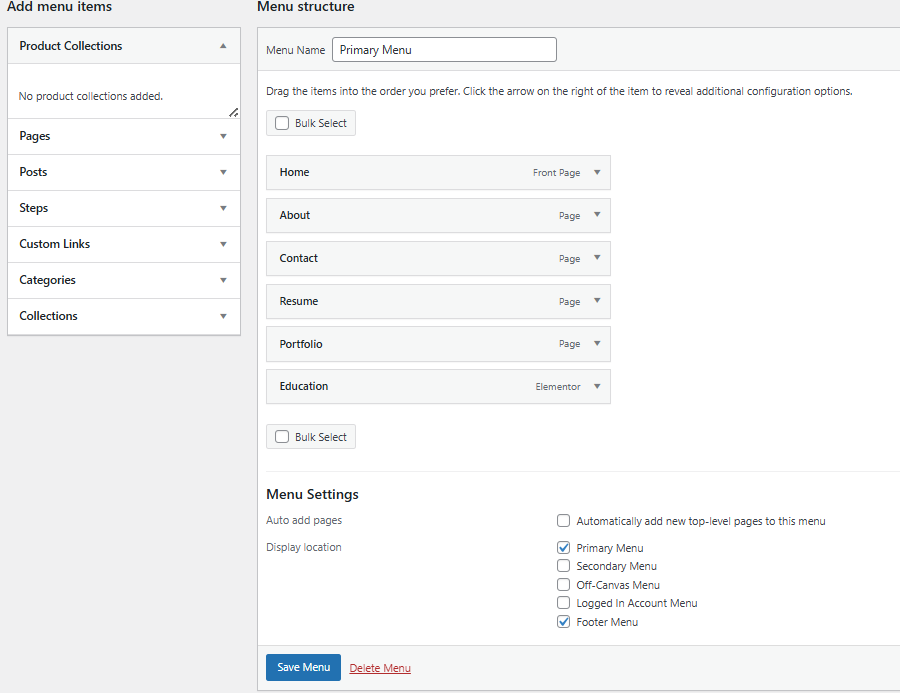
Step 4: Add the Contact Page to Your Menu
-
- Go to WordPress Dashboard > Appearance > Menus.
- Select the menu where you want to add the contact page.
- Click Pages > Contact Us > Add to Menu.
- Click Save Menu.